

Originally, I had used the stamp as an accent at the top of writing paper and note cards. But this time I decide to whip up a batch of envelopes, the perfect project for experimenting with a small hand-carved image measuring a mere .75” x 2.75”. The black ink pad was already handy from Halloween cardmaking; I picked out three inks in fall colors, envelopes in two sizes, and added my go-to Winsor & Newton ProMarkers to the mix of supplies on my work table.

*Buy an inexpensive bench hook to ensure that you will never cut your hand!
This simple tool will hold the block in place while you carve, allowing you to use your non-dominant hand to hold the block so it is positioned against the back of the bench hook, and your dominant hand to carve in a forward motion (away from your body and away from the other hand).
*Allow the stamp to retain evidence of the human hand at work.
Unlike commercial rubber stamps with perfect lines hand-carved blocks are imperfect; therein the beauty of them is revealed.

It is only when you get into carving wood blocks instead of rubber that you’ll want finer quality tools and a stone for sharpening them.


Instructions:
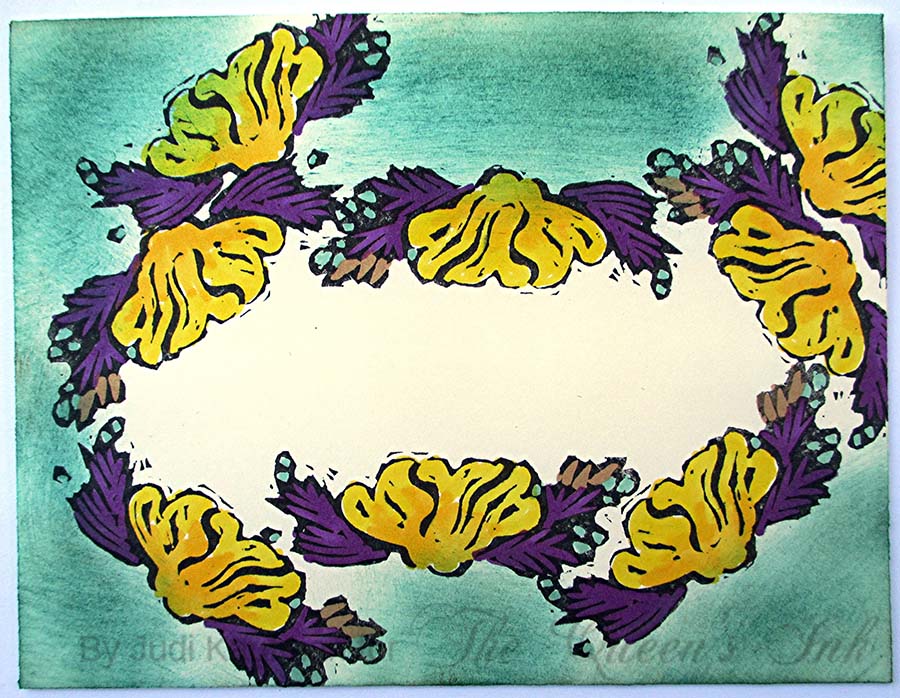
1. Use the photos for inspiration. Stamp a small hand-carved flower repeatedly to create frames and borders on a series of envelopes. Choose black or another dark color for the stamping.


If you don’t want to carve a stamp, substitute a commercial stamp with a similar shape and size – small enough to repeat on an envelope to create frames and borders.
If you’re careful, stamps carved from soft blocks last a very long time – mine is evidence of that fact – but for an even more durable stamp, carve wood or linoleum instead of a soft carving block.
Whip up some matching writing paper or note cards to use with the envelopes. A set makes a great holiday gift.
If possible, buy postage stamps that coordinate with your color palette. Or create custom postage stamps to match! They cost more than standard postage, but it can be worth the splurge.


- Carving block
- ProMarkers (Winsor & Newton) or markers of choice
- Envelopes in assorted sizes
- Carving tools and block, bench hook
- Black plus three or more other dye-based inks


I love to carve stamps and love this one you did!! It reminds me to get out my carving tools and make some more!!
ReplyDeleteThese are very beautiful. My hands can no longer attempt carving but I do love what you have done
ReplyDelete