
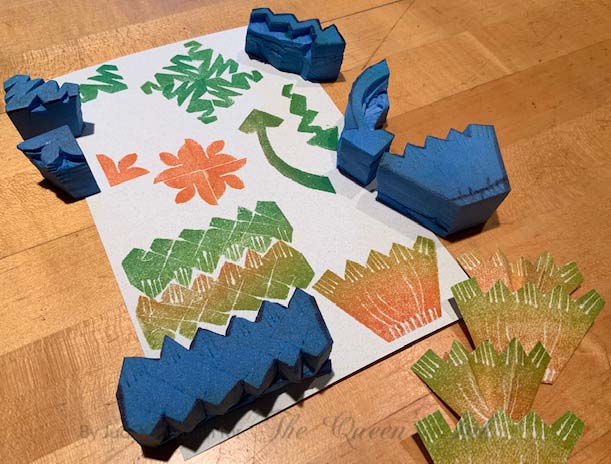
The photo above shows the six stamps as well as what each one looks like when printed. I did a bit of fussy cutting and pleating to figure out ways to add dimension. There are so many possibilities for repeat patterns, scenes, flowers, and more. And I will be mixing and matching these stamps with others I’ve cut, along with rubber and clear stamps, stencils, and collage.
Zig Zags, Part II will follow as soon as I go from puttering to projects. Yes, I’ll be experimenting on envelopes and making cards, but I think I want to work on some gift wrap as well!
YOUR TURN
Cut up a Magic Stamp block (or several!) using a craft knife, scissors, or both. Keep it to simple shapes. Optional: Add fine details with cut lines and incised marks made with a fingernail, stylus, pencil or pen.
Supplies:
- Magic Stamp block(s)
- Craft knife
- Scissors
- Inks
- Cardstock


No comments:
Post a Comment