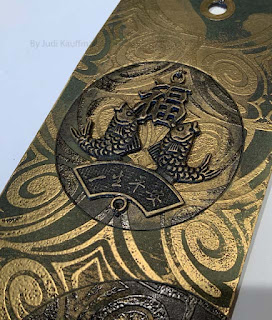
I die cut the blue/teal/gold tags as a pair, switching the die cut partial circle pieces from one to the other. I liked that effect so much that I repeated it with the red/cranberry tags. That left the black/gold tag. I cut a 2.5” circle and a partial circle at the corner, used StazOn ink to age the edges of the cut pieces. For all tags, the pieces got taped in position.
But it wasn’t quite enough so I used metallic braid to add some touches of embroidery here and there - straight stitches and French knots.
To finish, each tag got some coordinating yarn or braid for a hanging loop and a solid color cardstock rectangle on the back on which to write a title, date, and my name. This covers the tape as well as the lumps and knots from the stitching.
Here’s a photo gallery for inspiration:
Supplies:
- Tags (previously altered - see Tags, Part I and II)
- Circle dies
- Metallic braid
- Yarn to coordinate with tags
- StazOn ink in Black
- Tape


No comments:
Post a Comment