Monday, November 28, 2016

Santiago Gardens: Card-in-a-Box and Bookmark by Judi Kauffman for The Queen’s Ink


Nathalie Kalbach’s new foam stamps from ArtFoamies (available at The Queen’s Ink, of course!) are such a treat. If I had to pick a favorite, it would probably be ‘Santiago’ – the one I chose for this project. It is a square pattern that works beautifully as an individual unit and can be repeatedly stamped to create a variety of allover designs as well.

If you asked me to pick a favorite tomorrow instead of today, I might choose a different stamp (the ‘Batik’ series caught my eye…), so thank goodness I was able to add several to my collection. And there will be more in the future, I’m sure.

A quick detour: ArtFoamies stamps are great with acrylic paints, fun for art journaling and mixed media. Just be sure to wash them well immediately after each use so the paint doesn’t dry on and damage the surface of the foam. (I used good old dye-based stamping inks rather than getting out the paints.)


The idea for using the Santiago stamp to create gardens happened by accident. I constructed a Card-in-a-Box without planning what to add to the interior (the pop-ups). After cutting individual motifs for the fold-out sides and the tall backing section I was left with a bunch of scrap pieces. AHA! Flowers!

The exciting thing about Card-in-a-Box projects is that they fold flat for mailing, though this one is a bit lumpy because of the wooden stir sticks I used as stems for the flowers and will require additional postage.


After finishing the flowers for the Card-in-a-Box I ended up with a long scrap that looked like it would work well for a bookmark. This time I used the Santiago leftovers for the ground, not the flowers. I added alcohol 
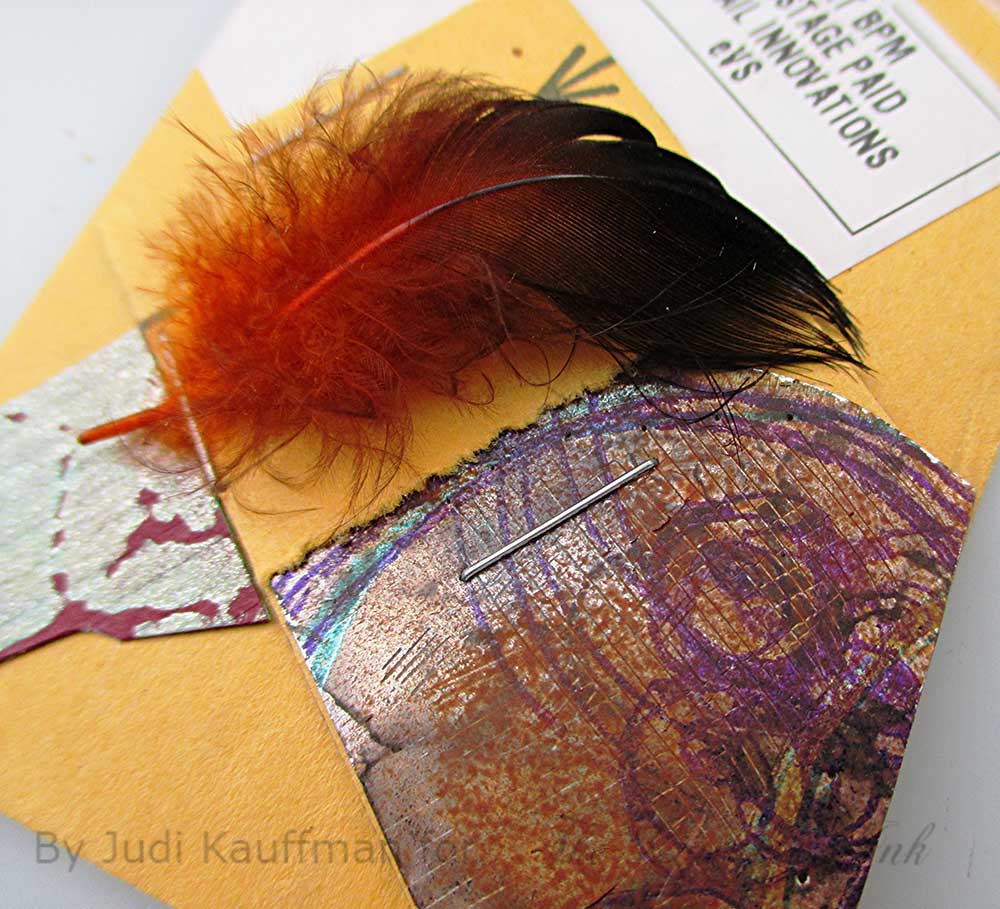
ink-altered peel-offs for the ‘greenery’ and used RubberMoon stamps for the round flowers and straight stems. I drew the little leaves. You may recognize the Stampstracts stamp I chose for the bookmark flowers – it was used for the EYES on owls in a blog post a few weeks ago.


DESIGN STRATEGIES and HOW-TO

If you’re an experienced card maker, look at the photos and head straight to the supply list. If you’re new to paper crafts, here are step-by-step instructions:

1. Choose three pieces of heavyweight cardstock (100lb) in coordinating colors. (If making a bookmark, add black or another color as the fourth.) Keep the same color palette or change to whatever combination you prefer.

2. Hand- or die-cut the pieces for your Card-in-a-Box. Use the first color for the main piece. Use the second color for the decorative rectangle (backing) and 3 side pieces. A quick Internet search will provide patterns and tutorials. I used an AccuCut die; the finished card measures 5.5” wide and 6” high when closed. The side pieces are 2.5” x 2.75”, an almost-perfect fit for the Santiago stamp. The stamp is 2.75” x 2.75”.

3. Stamp Santiago square repeatedly at an angle all over the inside and outside of the main piece. Stamp the long backing rectangle and three side pieces with the full Santiago square (not at an angle).

4. Stamp Santiago repeatedly to fill the third piece of cardstock. I stamped a 12” x 12” sheet. Cut out the decorative pieces for the sides and backing. Adhere with foam squares to add dimension. Accent the center of each dimensional element with a Glitter Dot.

5. Next, cut assorted pieces for the flowers. Shape and layer them. Embellish with Glitter Dots in two or more colors. Adhere flowers to stir sticks; glue the flower sticks to the inside of the card as shown.


Create a bookmark from remaining scraps, additional pieces of cardstock, rubber stamps, and alcohol ink-altered leafy branch peel-offs.


SUPPLIES
  • ‘Santiago’ foam stamp by Nathalie Kalbach (ArtFoamies)
  • ‘sunstract’ and ‘dashing’ Stampstracts stamps by Kae Pea (RubberMoon)
  • Die or template for Card-in-a-Box pieces (shown: AccuCut)
  • Cardstock in tan, rust, mustard and black or colors of choice
  • Dye-based ink in dark color of choice (shown: Raisin)
  • Glitter Dots peel-offs in two or more colors (shown: Red/Gold, Turquoise/Silver)
  • Flat wooden coffee stir sticks
  • Fine point scissors (to cut flower pieces)
  • Media shears or craft knife (to cut wooden sticks)
  • Leafy branch peel-offs in gold, altered with alcohol inks for mottled effect (for bookmark)
  • Fibers (for bookmark)
  • Pigma Micron 01 pen in brown/sepia (for drawing leaves on bookmark)
  • Ruler, cutting mat (if hand-cutting cardstock pieces for Card-in-a-Box)


Tuesday, November 22, 2016

Scrap Box Part 1: ATCs and a Calendar by Judi Kauffman for The Queen’s Ink


There’s an old joke about a woman who keeps pieces of string in two jars, one has pieces that will be useful but the other holds pieces that are too small to use. My scrap box falls into the ‘too small to use’ category. It’s where I whisk interesting bits and pieces of stenciled and stamped cardstock and Shimmer Sheetz, along with wonderful pieces of embossed and handmade paper – AKA ‘stuff I just can’t throw out’…

I like looking through it now and then. The scraps remind me of past projects and it’s rare that I can close the box without getting an idea for a collage or card or some other project. I’m proud to say I only allow myself a very small hinged plastic box for this stash so it never gets out of hand (6” x 6” x 3” – holds a lot but not too much!).

I also save some larger pieces, too, especially sturdy cardboard mailing envelopes I can re-use. Put the two together – tiny scraps and a big envelope, mix in some feathers and staples and washi tape and the results became today’s project: Scrap Box ATCs and a Calendar.


Layer One – Cut the cardboard envelope into 2.5” x 3.5” pieces. Glue and/or staple on additional pieces from the labels and other portions of the envelope.

Layer Two – Glue and/or staple on pieces from YOUR scrap box! Move things around for a while, don’t glue anything in place till you’re happy with the layout. Tip: Leave your work table for an hour or two or a day or more. Come back with fresh eyes.


Layer Three - Add twine, feathers or other embellishments as the final layer.

For the calendar: Choose two decorated ATCs and one that has only the first layer completed. Arrange them in a row, vertically. Punch a hole, centered, at the top of the first one. Add a calendar page or pad to the second (plainest) ATC. Connect the three with pieces of washi tape. Hang from twine, doubled and knotted as shown.


For all other ATCs: Display on a small easel, swap with friends, tuck the ATCs away in an album, add to a card front.

More ideas:

Instead of making ATC-size collages, work larger. Or smaller!
Paint the first layer before adding the scrap box elements.
At any point in the project add in stenciling, stamping, paint, found objects.
Use brads instead of staples. (Use an awl to pierce holes for the brads.)
Layer envelope and scrap box elements into an art journal.
Alter the sides of a box, the covers of a sketch pad, a photo mat or frame.

Supplies:
  • Stenciled Shimmer Sheetz scraps stamped in StazOn inks with Stampstracts ‘surround’ and ‘spiralstract’ (RubberMoon)
  • Good stuff from the scrap box
  • Cardboard envelope (book mailer, etc.)
  • Glue stick
  • Stapler
  • Feathers
  • Twine
  • Washi tape
  • Quarter-inch punch


Tuesday, November 15, 2016

Eat Out: Stampbord Fridge Magnets by Judi Kauffman for The Queen’s Ink


 This is a perfect project for beginners! Hope you’ll join me…

I’m getting a head start on holiday gifts. I thought that Stampbord fridge magnets would be fun to make for stocking stuffers, plus they’re flat and easy to mail. I chose 2.5” x 3.5” Stampbord pieces, but they are available in a variety of sizes so you can make smaller magnets or much larger ones.

Stampbord, made by Ampersand Art Supply, has a smooth bright white clay surface, perfect for stamping and coloring. It’s also great for all kinds of mark making with pens or with scratching tools. And it’s nice and sturdy. Boards are about an eighth-inch thick, the back is a neutral dark brown and resembles Masonite.


1. Stamp in black archival ink. Let the ink dry thoroughly or speed it up with a heat tool. (Practice stamping on cheap envelopes or pieces of paper or cardstock till you get the composition you like. Your practice pieces can be colored, cut and used for cards and postcards.)


2. Color with paint and/or markers. Add dots, circles, lines, and other marks; use a scratching tool to create white lines. Leave the scratched lines white or color over them. Tip from Kae Pea, owner of RubberMoon Art Stamps: Wet the surface of the Stampbord with a brush and plain clean water, then use a brush and watercolors if you want smooth, blended colors. (I did only minimal blending and used markers, a gold paint pen, plus white opaque and black fine line pens. I did a lot of scratching with a craft knife held at an angle to create white lines on two of the magnets, no scratching on the other two.)


3. Glue on the magnets. Done!


Other finishing options:

Paint the edges of the Stampbord.

Sign and date the back!

Instead of a magnet, turn the rectangle into a small hanging ornament. Drill holes in the upper left and right corner and add a cord.

Glue the Stampbord to a pocket salvaged from an old pair of jeans or a piece of painted canvas to give it a larger presence on the wall, as shown below.


Supplies:
  • Stampbord rectangles in size of choice (shown: 2.5” x 3.5”)
  • Markers, paints, pens of choice
  • Craft knife or a scratching tool
  • Black permanent (archival) ink pad, or any dark color of choice
  • Magnets
  • Strong hold glue formulated for non-porous surfaces or Tombow Power Adhesive Tabs to secure the magnets

Rubber stamps:

Eat Out (Stampers Anonymous)
Sunday Best by Sunny Carvalho (RubberMoon)
Stampstracts by Kae Pea – sorta scalloped, bubblesndots, line work, starstract, dot maker (RubberMoon)


Tuesday, November 8, 2016

Ten-Minute Holiday Ornaments by Judi Kauffman for The Queen’s Ink

  
It took me only 10 minutes to create this sparkly holiday ornament:

5 minutes – Die cut three Shimmer Sheetz holiday greens (2 holly sprigs in Emerald Gemstone, 1 pine sprig in Green Iridescent). Remember, you MUST use a metal adaptor plate or Sizzix Big Shot with Precision Base Plate to die cut Shimmer Sheetz).

4 minutes – Trim each holly sprig into two 3-leaf pieces (use 3 pieces for the ornament, set 4th aside for a gift tag or another project). Attach holly and pine sprig just below the cap of a faux mercury glass ball using tiny slivers of Tombow Power Adhesive Tabs to hold the greenery in place. Use non-stick scissors to cut Power Tabs into slivers.


1 minute – Add a cluster of 3 ‘berries’ (Glitter Dots peel-off stickers).

Beginners: Don’t fret if it takes you more than 10 minutes. Everything takes longer when you’re just getting started. Experience brings confidence; confidence boosts skills. And don’t forget that crafting isn’t a competition or a race. I only mentioned how quickly the ornament came together for me so you can get a sense that it’s a simple project and embrace my mantra – Easy isn’t cheating!


DESIGN STRATEGIES

As always, there are lots of ways to customize this project:

Don’t want quite as much sparkle? Start with a matte finish ornament or tone down the Shimmer Sheetz by lightly sanding it prior to die cutting.

Want more dimensional berries? Make them out of air dry clay and paint them red.

Need something less traditional? Stick with the faux mercury glass ornament but use Gold and Silver Metallic or Fire Opal and Australian Gemstone Shimmer Sheetz instead of Emerald Metallic and Green Iridescent. Or switch to a royal purple ornament and go for Amethyst Gemstone and Purple Iridescent Shimmer Sheetz! (Who says that ‘Holiday Greenery’ has to be green?)

For durability, choose an acrylic ornament, as shown, rather than fragile, breakable glass. Safety reminder: Ornaments are not toys – be sure to keep them away from pets and small children.

Need some last-minute holiday cards? Instead of dimensional ornaments make flat ones that can be mailed in a standard envelope! (I’ll be showing a batch of these later this month…stay tuned.)


SUPPLIES

(Call or drop by The Queen’s Ink to get the Holiday Greens dies and other supplies needed for this project) 
  • Tim Holtz ‘Holiday Greens’ Thinlits dies
  • Shimmer Sheetz in Emerald Gemstone and Green Iridescent
  • Die cutting machine with metal adaptor plate (Sizzix Big Shot with Precision Base Plate)
  • Red/Gold Glitter Dots stickers (use largest size on the sheet)
  • Tombow Power Adhesive Tabs
  • Non-stick scissors (to cut Power Tabs into slivers)
  • Faux mercury glass holiday ornament

Tuesday, November 1, 2016

Queens of Hearts Paper Dolls by Judi Kauffman for The Queen’s Ink


In last week’s post I mentioned doing some shopping while I was at The Queen’s Ink for Kae Pea’s class. I used the stamps for today’s projects. Though it wasn’t my original intention to combine them, because they were out on my work table the stamps became great friends. They got together with my muse and announced that they wanted to be made into paper dolls!


I’ve provided a complete supply list so you can duplicate the dolls as shown, but I hope you’ll use the design strategies to create paper dolls that are uniquely your own.


DESIGN STRATEGIES

First and foremost, realistic proportions aren’t necessary.

Bodies can be rectangles or other simple shapes. I used the following for my four paper dolls:
1. Queen of Hearts rubber stamp
2. A plastic-coated Queen of Hearts playing card (1.75” x 2.25”) and a second card from the deck for the back side
3. A debossed and lightly sanded piece of Shimmer Sheetz with rounded corners to give the feel of a playing card (2.25” x 3”)
4. A stamped sentiment with a wonky frame


Stamp, fussy-cut and assemble the dolls as shown or as you prefer. Head and crown pieces were cut as a single shape; the polka dot skirt was stamped in two sections.


Because they are paper and rather fragile, display the dolls where they won’t get damaged or frame them in a shadow box (omitting the loop at the head).


Add a bit of spot color with markers or colored pencils. Alternatively, color as much as you want.


Embellish with Glitter Dots peel-offs and/or flat-backed faceted gems. Reminder: Be sure to use the right adhesive for whatever surfaces you’re attaching. For example, gems are non-porous and require glue formulated for adhering non-porous surfaces to a porous surface like cardstock.


For 2-sided dolls finish the back so it looks good, too. Add a second playing card and an extra gem, or use cardstock to hide the places where the head, arms, legs, and skirt are glued in place.

Don’t forget to sign and date your paper dolls.


MORE OPTIONS

Add ribbon or cord to make a hanging loop for paper doll ornaments as shown.
Glue the doll into an art journal or incorporate it into a collage.
Showcase the doll on the front of a greeting card or tuck one inside a card; they are low relief and easy to mail.
Want to make a ‘material girl’? Stamp head, arms and legs onto fabric, leave a seam allowance when cutting out the pieces; sew and stuff the doll parts!

If you’re active on social media be sure to share this blog post with your friends.
If you create paper dolls because of this post, please leave a comment on the blog to tell us about them!


SUPPLIES

(Stamps, Glitter Dots and Shimmer Sheetz are available at The Queen’s Ink as of the date of this blog post. Call to check availability if you’re reading this at a future date.)

Stamps:

RubberMoon – 
Doll parts
I was going to take over the world
Stampstracts tri-dots, bubblesndots, and starstract

Other stamps –
Queen of hearts (Pink Ink)
Eat Out (Stampers Anonymous)

Other supplies:

Glitter Dots peel-offs #7018 in Gold/Silver and Red/Gold (Elizabeth Craft Designs)
Ink pad in any dark color of choice (shown: Raisin brown)
Off-white flannel finish cardstock or other cardstock of choice
Contrasting cardstock for ‘Eat Out’ banner (shown: Bright red)
Shimmer Sheetz (Elizabeth Craft Designsin Fire Opal Gemstone
Sanding block (optional)
Card Suits embossing folder (Kaisercraft)
Corner rounder punch (optional)
Marker(s) in color(s) of choice (shown: Bright red)
Adhesives formulated for paper and gems (porous and non-porous surfaces)
Flat-back heart-shaped faceted gems
Fine cord or ribbon
Fine point scissors