Monday, May 29, 2017

Altered Board Books, Part 1 by Judi Kauffman for The Queen’s Ink

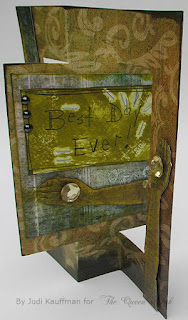
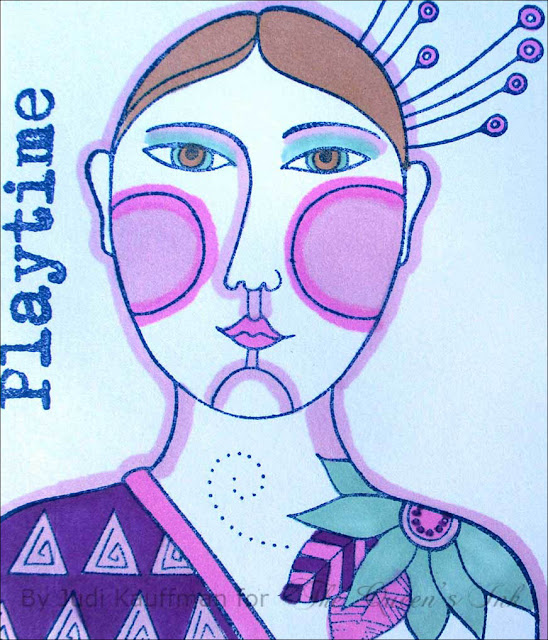
A friend and I have been doing an ongoing altered board book project, sending the books back and forth from one state to the other after each of us finishes a spread. We chose ‘quotes’ as the theme. Each of us found a children’s book at a yard sale and the two books were the starting point. Hers, with curvy edges, is shown today. Mine, with a basket shape, is coming in June as a separate post – Altered Board Books, Part 2.

At the end, we each keep the book that was ours at the beginning. Sometimes we give ourselves a short turnaround time, other times we take longer…no stress, no rush.
We’ve both done a lot of painting, stenciling, stamping and collage. I cut and tore quotes from a stack of Jane Austen postcards and some Graphic 45 papers for many of my spreads. I used stamps and an embossing folder that are available at The Queen’s Ink, along with dimensional embellishments including a mini wire hanger, an air dry clay flower, lace, embossed and sanded Shimmer Sheetz, tags, collage papers, alphabet and number stickers, cork dots, washi tape, and more.

Two of my altered board book spreads are shown here, enough to give you some ideas and help you get started! 

YOUR TURN
This project can be done solo, or with one other person or several. If you choose to include another person or a group, make sure everybody is on the same page (pun intended!) when it comes to things like theme and deadline.

My friend and I decided not to alter each other’s pages, but have revised some of our own pages several times! Make up whatever rules and guidelines you want and then bend ONLY the ones that really matter. (We changed deadlines, but kept firmly to the rule about not altering each other’s work! And we’ve both been super careful about packing so neither book has been damaged during all of the trips through the postal system…)

Here’s what to do:

Pick a board book.
Pick a theme (or let things evolve).
Work on one page at a time or one two-page spread at a time, or several all at once.
Sketch on scrap paper if you like to pre-plan, if not, skip this step.
Paint, stencil, stamp, glue things to the pages.
Optional: For durability, seal pages with clear medium (matte or gloss).
Make sure that the spreads are thoroughly dry before closing, sending or storing the book!
Tip: We have trimmed pieces of parchment paper to fit between the pages so that over time they can’t ever stick together.

SUPPLIES:
  • Board book
  • Rubber stamps (RubberMoon)
  • Ink pads
  • Gesso in black and/or white
  • Assorted paints, papers, cardstock, stencils
  • Adhesives appropriate to what you want to adhere
  • Matte and/or gloss medium
  • Markers, pencils (coloring medium of choice)
  • Embellishments, stickers, collage papers
  • Suit of Cards embossing folder (KaiserCraft)
  • Shimmer Sheetz in Fire Opal Gemstone
  • PLUS whatever else you want!

Monday, May 22, 2017

Come On Baby, Let’s Do the Twist! By Judi Kauffman for The Queen’s Ink

I’m channeling my inner Chubby Checker, circa 1960, only this time it’s twist cards, not the dance from back in the day. Old rock and roll cranked up in the background and a lot of card making going on!

‘Twist’ cards are one of my favorite card constructions. They fold flat for mailing, then flip open to stand upright, revealing a double-sided center panel that swivels back and forth! I used a die, but you can find free templates with a quick online search. (Some people call them ‘flip’ cards; search for templates that way, too.)

I thought it would be fun to pull together a lot of the rubber stamps I’ve been using for my blog posts in the last few months, adding one from my collection. All stamps except for the vintage arm with hand are available at The Queen’s Ink! They are from RubberMoon, Her Majesty (The Queen’s Ink’s owner, Patti Euler), Lynne Perella (PaperArsty) and Dyan Reaveley (Ranger).


Supplies:
I chose 2-sided 12 x 12 cardstock from Ken Oliver Crafts for all of the cards, over-stamping right onto the designs in the cardstock. I also incorporated white cardstock for some of the sentiments. I cut, fussy-cut and tore the pieces to create the effects I wanted. I added just a few low-relief embellishments – Glitter Dots peel-offs, flat-backed gems, and some small white resin crowns that I found tucked away in a drawer.


Because no two people have the same stamps and papers, please use my cards to kick-start your own unique projects.

Time for a stroll through the photo gallery…


Tuesday, May 16, 2017

Summer Sparkle Hat by Judi Kauffman for The Queen’s Ink


My favorite hat needed to be revived. I tried a simple ribbon band, but it looked too masculine. I added a cluster of faded-looking silk flowers, but it looked kind of blah. But when I tucked some die cut Shimmer Sheetz leaves and dandelion fluff I knew I was onto something! 


The surface of Shimmer Sheetz reflects the light and adds just the right amount of sparkle. I used Black Iridescent, Red Iridescent and Fire Opal Gemstone Shimmer Sheetz to echo the colors in the flowers. 

YOUR TURN

1. Find a flattering hat.

2. Add a ribbon or ruched fabric headband (or not).

3. ‘Audition’ the silk flowers, arranging and rearranging them until you are pleased with the effect. Trim the stems as needed.

4. Die cut, hand cut, or punch a variety of Shimmer Sheetz leaves and other shapes. Reminder: A Metal Adaptor Plate is required for die cutting Shimmer Sheetz (or a Big Shot Machine with Precision Base Plate). Inside your machine’s usual cutting ‘sandwich’ place the MAP or PBP, then the Shimmer Sheetz, then the die with the cutting side facing down, then the usual upper plate.

5. Add the Shimmer Sheetz pieces to the flowers, tucking the stems out of sight. Trim as needed.

Tips:
*Take digital photos of each arrangement as you go along. That way, you can return to a previous arrangement if you find that you’ve headed down the wrong path. If you don’t have a digital camera, make some sketches as reminders.
*Try on the hat as you go to make sure that it looks right when worn and not just when it’s on the table. (Careful, don’t dance around yet, until you’ve secured the arrangement it could fall off!)
*Add more flowers, take some out…Keep going until you’re feeling confident.

Things to consider when arranging the flowers:

Placement (off to the side, centered, at the back).
Symmetrical vs. asymmetrical.

I clustered the largest flowers in one grouping (two large dark full-bloom roses, one smaller rose and three buds), and then let the smallest flowers extend and trail off at either end. The leaves take a back stage. To my eye, an asymmetrical arrangement like this is more interesting than something symmetrical, and I kept the flowers to one side of the hat, as shown in the various photos.

That said, you can place a single flower front and center on your hat and repeat the arrangement on either side so it is precise and symmetrical! Or you can create an arrangement at the back of the hat and add a cascade of ribbons that fall to the middle of your back.

It’s YOUR hat, your face – you know what you like!

6. Securely sew the silk flowers in place with a few hidden stitches.

7. Adhere the die cut Shimmer Sheetz pieces with snippets of Tombow Power Adhesive Tabs – they hold very well and you only need little pieces! (Tip: Use non-stick scissors to cut the Tabs and for the best hold do not touch the exposed adhesive with your fingers.)

8. Wear your unique creation and wait for the compliments to pour in!

SUPPLIES
  • Shimmer Sheetz in colors to coordinate with silk flowers
  • Tombow Power Adhesive Tabs
  • Hat
  • Silk flowers
  • Assorted dies, punches (or draw and hand-cut your own Shimmer Sheetz shapes!)
  • Metal adaptor plate and die cutting machine
  • (Or Sizzix Big Shot with Precision Base Plate)
  • Non-stick scissors
  • Needle
  • Thread to match the hat

Monday, May 8, 2017

Starring Laurel Burch! By Judi Kauffman for The Queen’s Ink


My Laurel Burch stamp collection keeps growing and I keep having fun using them here at The Queen’s Inkling. You’ll find the ‘Dog Tail Run’ stamp (a leaping dog) featured in the April 18, 2017 post and the ‘Blossoming Woman’ set took center stage last week (May 2, 2017).

This week, I’ve kept going with Blossoming Woman and have added a seated cat (‘Feline Friend’) to the mix. If you’re a dog person, not to worry, the Laurel Burch collection also includes a seated dog (‘Dog Tail’).

Quick & Easy Projects:

Envelopes and cards.

How-To:

1. Using denim blue or any dark ink of choice, stamp on white side-fold cards or envelopes.

2. Color inside the lines as well as around them with your favorite markers, pencils, pens, paints, or a combination. Doodle as much or as little as you choose. Use a quirky palette or stick to more realistic colors. It couldn’t be easier. (I used fine nib black pens to add eyeliner, eyelashes and pupils as well as to create patterns and darken/reinforce various stems and other elements as shown in the photo below. The tiny yellow dots on the cat’s eyelids and surrounding flowers were done with a Gelly Roll Moonlight opaque ink pen.)

3. Optional: Use the stencils that are included in the Blossoming Woman set to add more pattern and color.

A supply list follows the photo gallery –


SUPPLIES:
  • Laurel Burch ‘Blossoming Woman’ stamp set
  • Laurel Burch ‘Feline Friend’
  • Laurel Burch ‘Dog Tail’ (not shown)
  • Ink in dark color of choice (Shown: Denim)
  • Coloring medium of choice (Shown: Winsor & Newton ProMarkers, Sakura Pigma Micron pens 01 and 1, Sakura Gelly Roll Moonlight pen in Yellow)
  • White envelopes
  • White cardstock
  • Optional:
  • Additional stamps (words, short sentiments)
  • ‘Blossoming Woman’ die set (perfect for cards, but not used for Q&E projects shown)


Tuesday, May 2, 2017

Blossoming Woman Cards by Judi Kauffman for The Queen’s Ink

Do you know the theory called ‘Six Degrees of Separation’? It says that any two people are separated by only six people. So if I know Maury Povich and you know me, then you’re one degree of separation from him, but if you know the guy who cuts my hair that adds a degree. And so on. Well, here’s my story when it comes to the late, fabulously talented artist/designer Laurel Burch:

I taught at a college in Dallas in the 1980s. One of my students moved to California when she finished our graphic design program and got a job as Laurel’s personal assistant! It sounded like the best gig ever – product development, travel, and when they were in the studio another employee brought in a homemade lunch. (I always thought that having lunch arrive with no work on my part would be the ultimate luxury, don’t you?) So here I am, only one degree from Laurel Burch, alas, someone I never got to meet but always admired.

Fast forward – Laurel lives on through licensed products including a series of remarkable stamps and dies, available at The Queen’s Ink! I chose the ‘Blossoming Woman’ cling-mounted rubber stamp set for my cards. (My April 18, 2017, blog projects included a dog from the new collection and you’ll be seeing more stamps in weeks and months to come…)
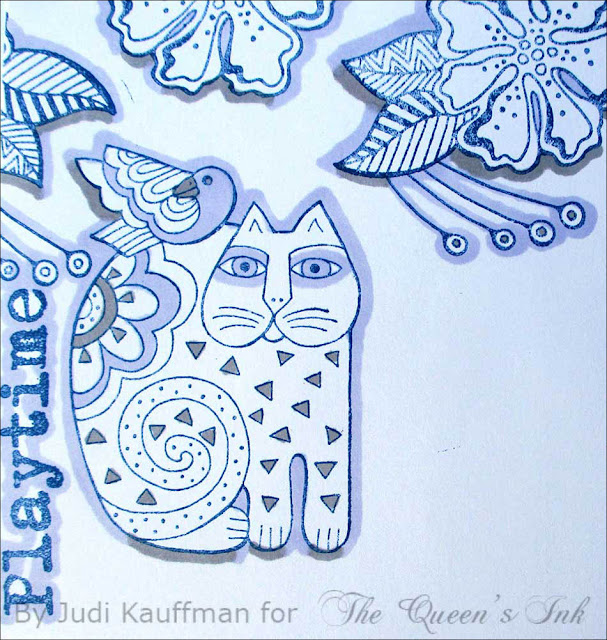


Here are the easy steps for creating your own Blossoming Woman projects:

1. Pick a color palette and gather supplies that fall within it, or don’t pre-plan and just let things unfold!

2. Choose your favorite coloring medium, or mix several.

3. Stamp in a dark color on white or any light color cardstock.

4. Color. Color some more. Use realistic colors or venture far out of the box.

5. Hand- or die-cut the faces, earrings, flowers.

6. Combine the pieces with assorted background layers (stamped or plain solid color cardstock, origami paper squares, hand printed paper, gel prints – there are endless options!).

7. Other options (All are shown):
*Incorporate more stamping, for example: Mini question marks, a sentiment.
*Add dimension to faces, flowers, and earrings with foam tape.
*Accent with purchased embellishments like silk leaves and paper flowers.


Here are some close-up photos to show more of the details:


Supplies:
  • Laurel Burch ‘Blossoming Woman’ stamp set
  • Ink in dark color of choice (Shown: Denim)
  • Coloring medium of choice (Shown: Winsor & Newton ProMarkers; Chameleon Color Tones Pencils, Sakura Pigma Micron pens 01 and 1)
  • Cardstock in white or any light color and assorted other colors
  • Patterned papers (Shown: Origami paper, gold and purple Indian hand printed paper)
  • Foam tape or dots
  • Glue to adhere embellishments
  • Dimensional embellishments (Shown: Paper flower, silk leaves)

Optional:
  • Dylusions stamps (Ranger)
  • Assorted mini-size question mark stamps
  • Laurel Burch ‘Blossoming Woman’ die set (not used for projects shown)