

Those
of us of a certain age will remember this line: “Kiss you? I hardly know you!” (To
the young folks among us: It’s what a nice girl said when a guy got ‘fresh’ –
and if you don’t know what ‘fresh’ refers to, go ask your grandmother.)
Today’s
tutorial is a play on those words, with emphasis on the word ‘play’ since this
project is playful and fun – recycling, re-purposing, with a touch of silliness
thrown in for good measure thanks to the ‘BFFs’ and ‘Start a new chapter’ stamps
from RubberMoon that I picked up at The Queen’s Ink!
It all
starts with a boutique tissue box that has something interested printed on it. (Almost all of them do!) Usually, the main portion of the box has one pattern and
the ends that are overlapped and glued have a second pattern. And the nice
thing about boutique tissue boxes is the oval opening that provides a great
frame without any die-cutting.
One
box provides enough cardboard to make two 4.25” x 4.5” cards, but as you’ll see
in the ‘Options’ after the instructions, there are lots of other possibilities.

1.
Carefully open the tissue box and lay it flat on a cutting surface.
2. Cut
off the side pieces, leaving the four squares connected. Discard the skinny
scraps, keep the four printed flaps. Cut the remaining piece in half, yielding
two already folded card bases, one with an oval opening in what will become the
front. Trim as needed so front and back of each card base are the same width.
3. Using
a craft sponge or dauber to apply the ink, distress all edges with ink in a
compatible color.
4. Using
the same ink, stamp people, animals or other motifs that fit into the oval
opening (shown: BFFs by Sunny Cavalho) and a sentiment (shown: Start a new
chapter) onto lightweight mulberry paper. Leave plenty of space between them
for tearing random shapes. Tear around the stamped images and tear some extra
un-stamped pieces.

5.
Adhere one flap piece under the oval opening. Adhere another to the back of
that card base. Adhere the remaining two flap pieces to the front and back of
the second card base.

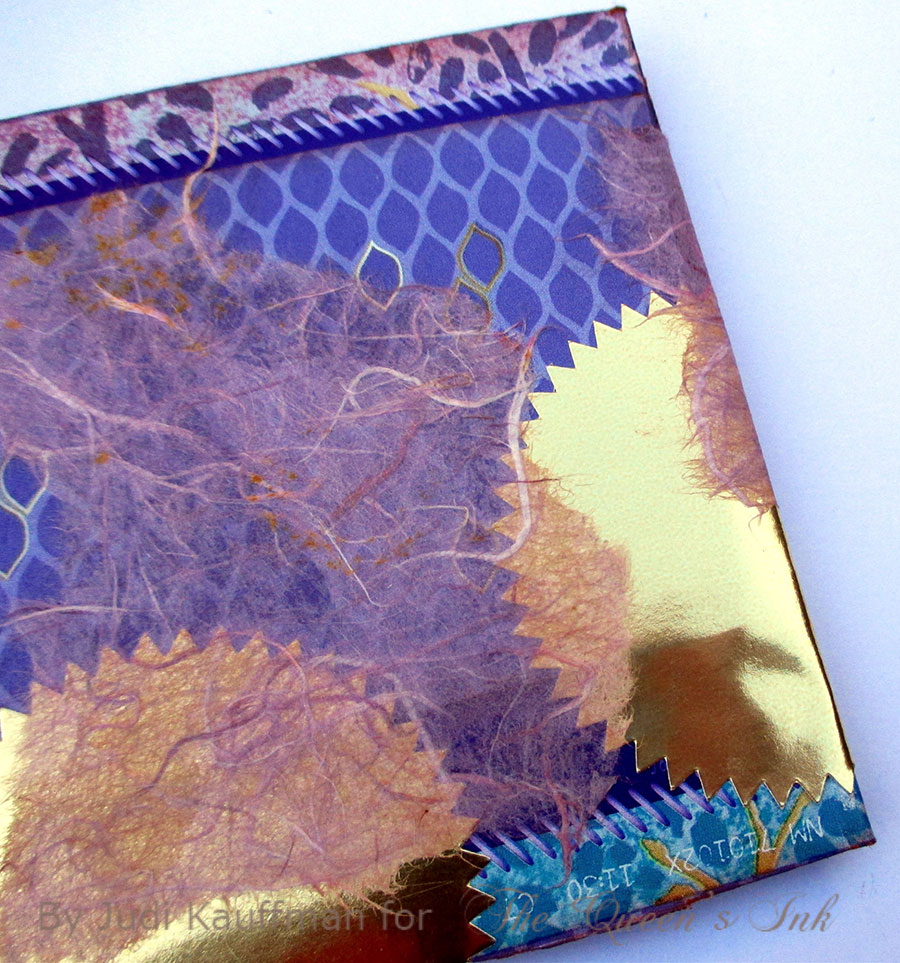
6.
Create collages as shown or as you prefer, covering various areas of the
printing on the front and back of the card base with gold notary seals or die
cut circles. Tie it all together with the stamped and torn mulberry papers and be
sure to leave some of the original printed patterns from the box visible.
7.
Line each card with more mulberry paper or other lightweight patterned or solid
color paper.
More Options:
Instead of making two side-fold, cut into four separate square panels and use them as card fronts for four cards, doubling the output! (Solid color cardstock for the four card bases.)
Use
the four pieces as front covers for four coil- or wire-bound journals or notepads.
Make pages from old envelopes or folders, watercolor paper, printer paper, or a
combination (Plain chipboard for the back cover of each.)
Use
the side-fold cards as covers for a stitched book with one signature (2 sheets
folded in half for 8 pages).
Instead
of cards, layer the flap pieces over the folds, add all of the collage except
for the stamped mulberry paper. Cut the resulting 4.25” x 16” down to 3.5” x 15”,
and then cut into six 2.5” x 3.5” Artist Trading Cards. Finally, add the
stamped pieces to the individual ATCs.
Use the oval opening to frame a photo, poem, or hand-written note instead of a stamped design.
Use the oval opening to frame a photo, poem, or hand-written note instead of a stamped design.
It’s your turn!
Get your friends to save their interesting boutique tissue boxes and see what
you can come up with!
SUPPLIES:
- BFFs by Sunny Cavahlo (RubberMoon)
- Start a new chapter by Kae Pea (RubberMoon)
- Boutique tissue box
- Craft knife, straight edge, cutting mat
- Lightweight mulberry paper (shown: Pink)
- Gold rotary seals
- Glue stick.
- Ginger or other dark color ink

I save pretty tissue boxes for projects. Now I have some more ideas. ty.
ReplyDelete